Replacing the backlight lamp of ThinkPad T23

Pinkish display. I am not particularly into pink...
I have replaced the backlights of several laptop LCD panels. I succeeded most of times except one occasion when the original lamp was vertically mounted and the new one is for horizontal mounting.
Be an organ donor!
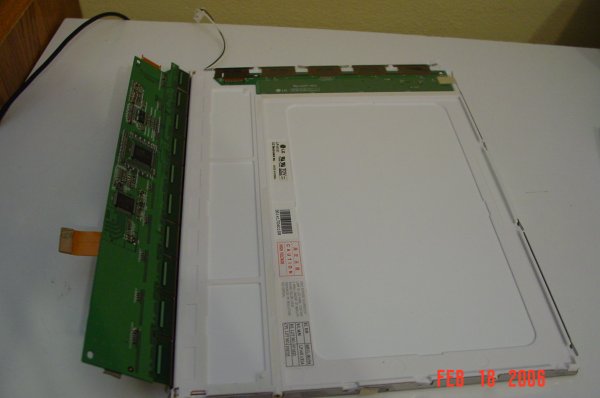
I started with an old LG 14.1" XGA panel that I salvaged from a dead laptop at work. The screen was badly scratched so it was a perfect organ donor. The disassembly took place in a state-of-art clean room facility. Actually it was done on top of my desk.
Taking it apart
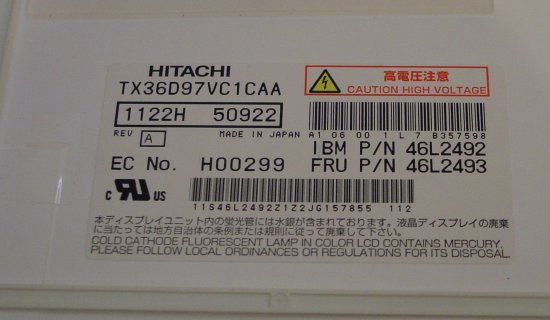
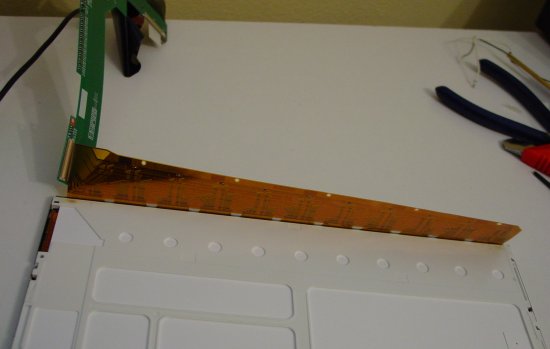
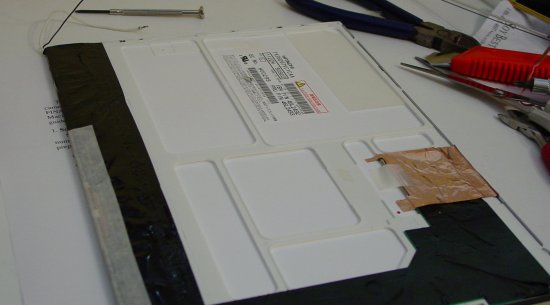
The LG LCD panel is from the early Pentium II era, but the backlight looked healthy when I last saw the unit was on. LCD panels usually have a horizontal board and a vertical board, that are connected via a connector. This LG panel was different. It was soldered. Good thing it was not going to be reassembled. I just broke the flex cable to separate the two parts.
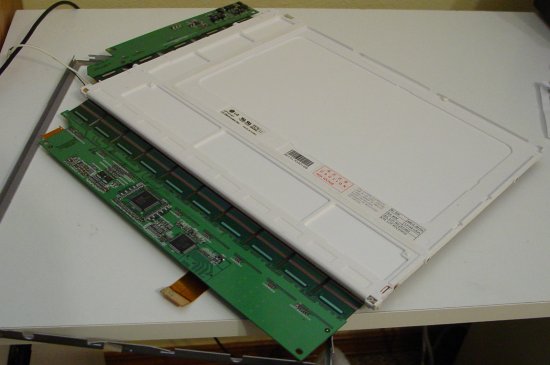
Taking it apart
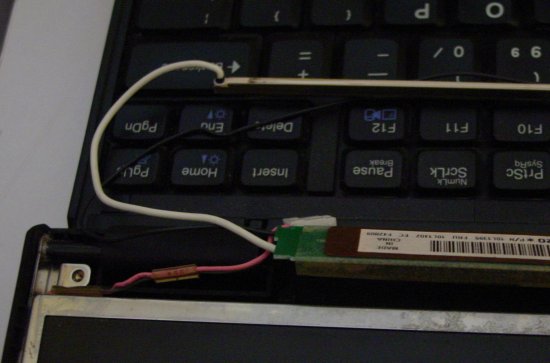
One must be very careful when dealing with the backlight because it is fragile, especially at the ends where wires are soldered.
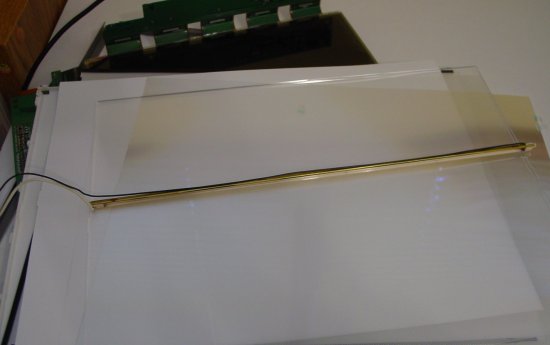
The salvaged backlight in its brass frame
I wanted to test the backlight before taking T23 apart completely. That meant connecting the new one to T23's inverter.
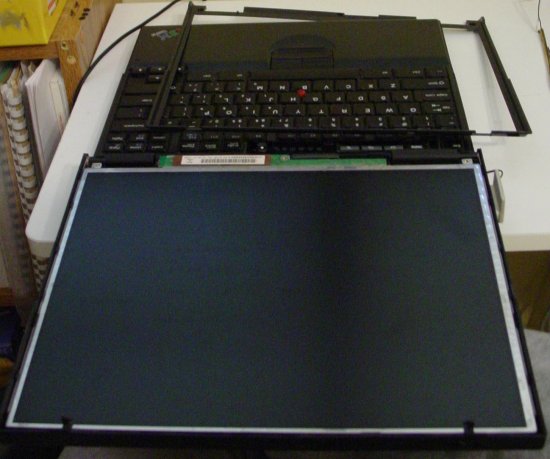
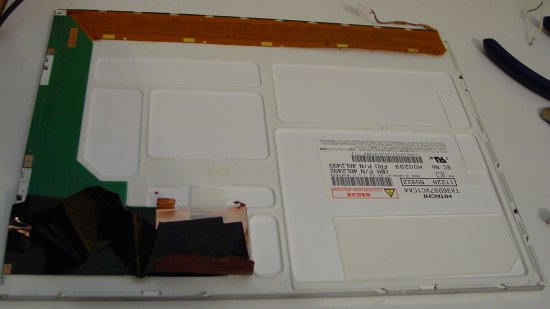
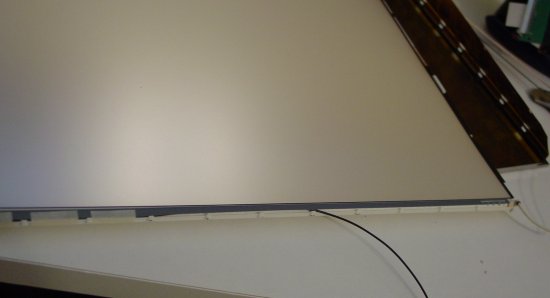
T23's LCD bezel removed
The salvaged backlight is connected to the inverter
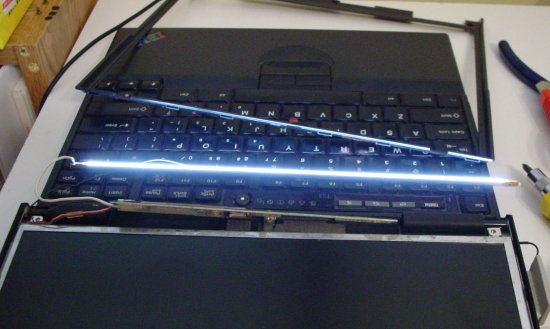
It lights up fine. Also the color looks right.
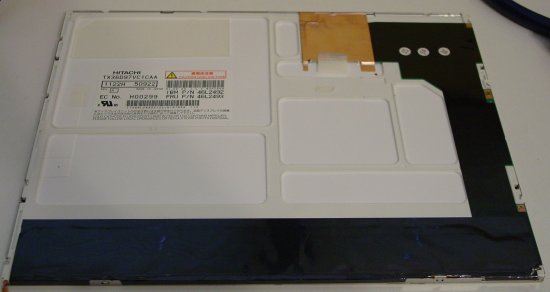
This is T23's LCD panel, 14.1" SXGA 1400x1050
I really have to be careful about this one!
Careful, careful!
(again in the state-of-art clean room environment of my desk)
Easy boy!
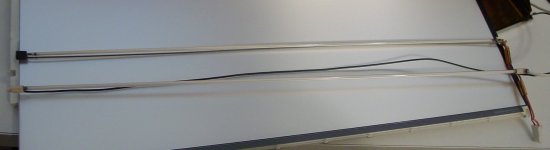
The backlight is out. The both are shown here.
Putting the new one.
Due to the size difference I had to apply tapes to secure it.

All done with putting tapes!
I like white masking tape...
Fully reassembled. Wrinkly!
Voila! It looks as new again!
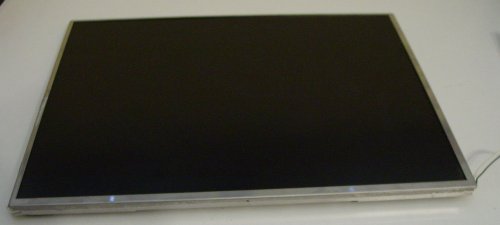
It looked like this before the replacement.